

Traveling with a charcuterie board is one of those things that sounds way more complicated than it actually is. I thought the same thing the first time someone suggested it for a road trip. Turns out, pack it right and choose smart ingredients and you can have a proper spread ready wherever you end up — road trip, flight, picnic, hotel room. These 10 charcuterie board travel tips cover everything you need without the usual stress.
As a student who’s gone through dozens of road trip and budget travel forums, the pattern is always the same — people who plan their travel snacks properly spend less on overpriced airport and highway food, and actually enjoy the trip more.
What Are Charcuterie Board Travel Tips?
These are practical strategies for picking, packing, and moving meats, cheeses, crackers, and extras without everything falling apart on the way. The tricky part is that charcuterie mixes perishable and non-perishable items, so you can’t just throw it all in a bag. A little planning upfront makes the difference between arriving with a fresh impressive spread and arriving with a soggy, sweaty mess.
Why Traveling With a Charcuterie Board Can Be Tricky
Temperature changes make cheese sweat and go soft faster than you’d expect. Moisture from wet items — olives, spreads, fresh fruit — transfers to crackers and ruins them within an hour. Delicate stuff gets crushed without proper containers. And perishables sitting at room temperature too long become a genuine food safety problem. None of this is hard to prevent once you know it’s coming — which is exactly why these tips exist.
The 10 Best Travel-Friendly Charcuterie Ingredients
Pick the right ingredients and you’ve already solved half the problem before you even start packing.
Meats That Travel Well Dry-cured salami, pepperoni sticks, soppressata, dry chorizo. Naturally preserved, low maintenance, no refrigeration drama on shorter trips. For students on a tight budget — store-brand dry salami from any supermarket works just as well as premium deli options. The travel performance is identical.
Cheeses That Travel Best Aged cheddar, gouda, manchego, parmesan chunks. Hard cheeses every single time — leave the brie and camembert for home.
Crunchy and Dry Items Water crackers, breadsticks, pretzels, roasted nuts. Keep them bone dry and they stay crunchy the whole trip.
Fruits and Extras Dried grapes, dried figs or apricots, olives in sealed containers, dark chocolate squares. Dried and properly sealed items travel without drama — fresh fruit mostly doesn’t.
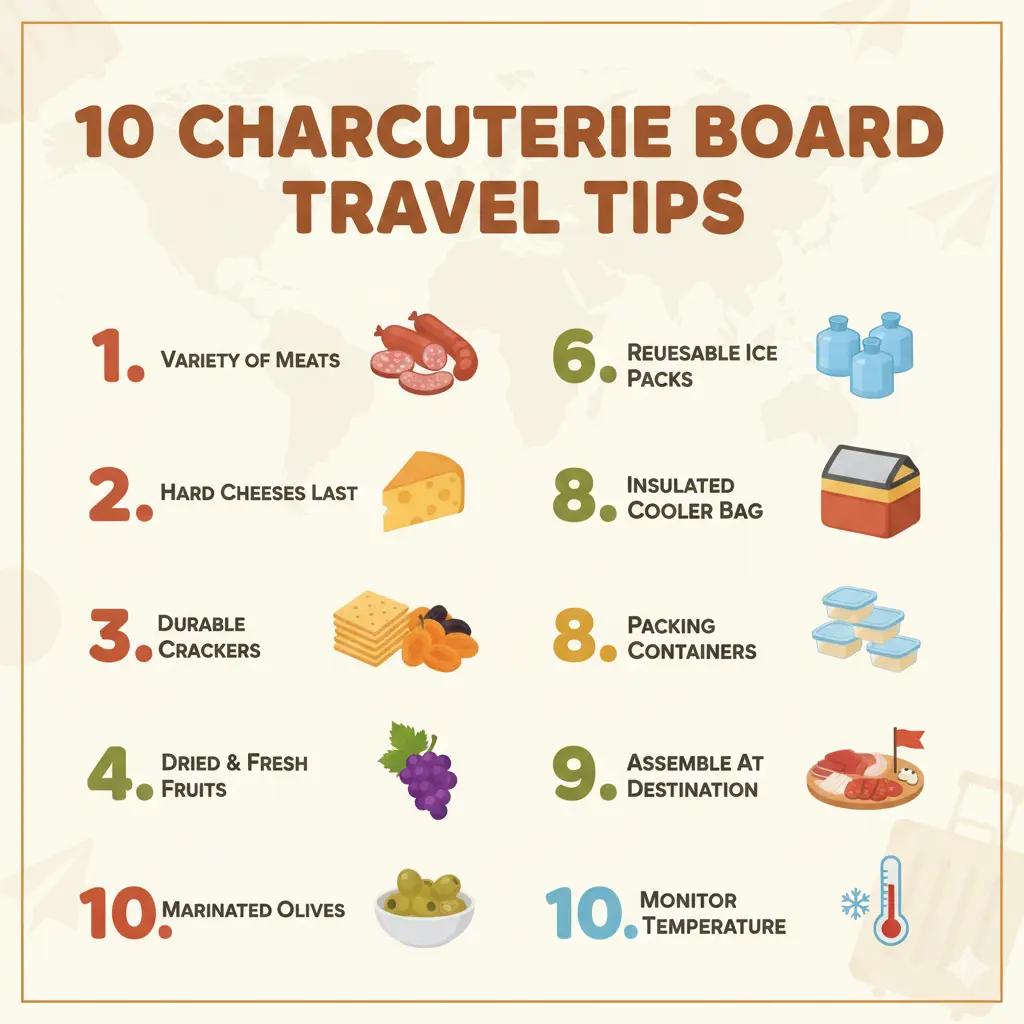
How to Pack a Charcuterie Board for Travel: 10 Pro Tips
1. Pack Everything Separately
Pre-assembling more than 30 minutes before arrival is a mistake every time. Everything needs its own container — meats, cheeses, crackers, wet items all completely separate from each other.
2. Use Airtight Containers ‘
Vacuum-sealed for meats and cheeses, zip-top bags for crackers, fully sealed containers for spreads and olives. Airtight keeps things fresher longer and stops flavors and moisture from crossing over.
3. Manage Moisture Carefully
Paper towel under the cheese absorbs excess moisture. Wet items stay completely away from dry items at all times. This one step prevents the majority of soggy cracker situations.
4. Control Temperature
Insulated cooler with ice packs — cold enough to stay safe, not so cold everything freezes solid. Non-negotiable for perishables on anything longer than a quick trip.
5. Label Everything Before You Leave
Label each container clearly — meats, cheeses, crackers, wet items. When you’re assembling at the destination, especially after a long drive or flight, you don’t want to be opening everything trying to remember what’s what. Takes 30 seconds to label, saves real time and frustration later.
6. Refresh Ice Packs on Longer Trips
Standard ice packs last 6–8 hours depending on the cooler quality and outside temperature. On road trips longer than that, stop at a gas station or convenience store and refresh them. Don’t assume the ice packs you loaded in the morning are still doing their job by evening.
7. Always Assemble at the Destination
Pre-assembling a charcuterie board before a trip looks great for photos and feels satisfying in the moment. It’s also the fastest way to end up with a soggy, squashed mess by the time you arrive. Five minutes of setup at the destination beats hours of degradation in transit every single time.
8. Pack a Foldable Cutting Board and Travel-Safe Knife
A small foldable cutting board takes almost no space and makes on-site setup genuinely clean and easy. Travel-safe cheese knives — the kind without a sharp point — clear airport security without issues and handle hard cheeses perfectly.
9. Keep Crackers in a Completely Separate Dry Bag
Crackers are the most fragile item on any charcuterie board. One drop of moisture and they go soft and useless. One heavy item on top and they’re crumbs. Dedicated dry bag, nothing else in it, packed on top of everything else in your bag. Non-negotiable.
10. Use Parchment Paper for Setup and Cleanup
Lay parchment paper down before arranging your board — it makes presentation cleaner, prevents items from sliding, and cleanup is just rolling the paper up and throwing it away. Students who’ve done this once never go back to setting up directly on a surface.
Charcuterie Board Travel Tips by Trip Type
Road Trips Hard or soft cooler, temperature check every 3-4 hours, chilled meats sitting close to ice packs.
Flights Cured meats and hard cheeses generally clear security without issues. Spreads fall under TSA’s 3-1-1 rule — anything over 3.4oz (100ml) won’t clear security. Stick to solid cheeses and cured meats for flights and leave the hummus and jam at home.
Picnics and Outdoor Events Firm cheeses only, assemble completely on-site, parchment for easy setup and cleanup, everything stays in the cooler until you’re actually ready to eat.
Hotels and Airbnb Stays Mini fridge or ice from reception keeps things fresh overnight.
Food Safety Rules You Must Follow
Meats and cheeses stay under 40°F and out no longer than 2 hours — that drops to 1 hour when it’s actually hot outside. Anything that smells off gets thrown out immediately, no second-guessing. For official guidance, check FDA Travel Food Safety and CDC Food Safety.
Essential Tools to Make Charcuterie Travel Easy
Insulated cooler, reusable ice packs, cheese paper instead of plastic wrap, foldable cutting board, travel-safe cheese knives. These tools make the whole thing noticeably less stressful. Pair with useful travel apps for overall trip planning.
Live Example: 5-Hour Road Trip Charcuterie Board
Dry salami and aged cheddar as the base. Everything packed in separate containers, crackers in their own dry bag. Ice packs refreshed once at the halfway point. Board assembled at the destination in under 5 minutes. No soggy crackers, no melted cheese, nothing gone wrong — exactly what was planned and genuinely fresh when it mattered.
Common Mistakes to Avoid
Assembling too early before a long trip. Mixing wet and dry items in the same container. Wrapping cheese too tightly in plastic. Not accounting for how hot it actually is outside. Leaving crackers anywhere near moisture.
Pre-Assembled or Assemble-on-Arrival?
Pre-assembled looks good for photos but loses freshness fast. Assembled on arrival tastes better, stays safer, and looks just as good. Five minutes at the destination beats hours of degradation in transit — not even a close call.
Frequently Asked Questions
Is it safe to bring a charcuterie board on a plane?
Yes — cured meats, hard cheeses, proper cooling. Completely doable with a bit of planning.
How long can a charcuterie board stay unrefrigerated?
2 hours in mild conditions, 1 hour when it’s genuinely hot outside.
Which cheeses travel best?
Aged cheddar, gouda, manchego — hard cheeses every time without exception.
Can I carry charcuterie on a flight?
Solid cheeses and cured meats yes. Spreads depend on quantity and specific airline rules.
Assemble before or after traveling?
After. Always after, no exceptions.
Final Thoughts
These 10 charcuterie board travel tips give you everything needed to keep snacks fresh and genuinely enjoyable wherever you’re headed.
Awamar Chheena is the founder of Travel Tips for Students. He writes practical guides to help students find travel deals, student discounts, and budget-friendly tips. His goal is to make travel more affordable for students around the world.